Recipe
Cake Base
Soaking
2 1/4 dl milk
Lemon Filling
4 (2 g each) gelatin sheets
Zest of 1 organic lemon
2 dl whipping cream
Yellow food coloring
200 g Turkish yogurt
200 g lemon cream (Valio)
2 dl sugar
1 dl lemon juice
Passion Fruit Filling
4 (2 g each) gelatin sheets
2 dl whipping cream
Orange food coloring
300 g cream cheese (plain)
200 g passion fruit purée
1 dl sugar
1/4 dl lemon juice
Icing and Piping
4 1/2 batches of buttercream
Blue (baby blue), violet, and pink food coloring
Cake Base
Prepare the pistachio cake base according to a separate recipe, using the same 20 cm springform pan that you'll use to assemble the cake. Let the cake cool and cut it into three layers.
Filling the Cake
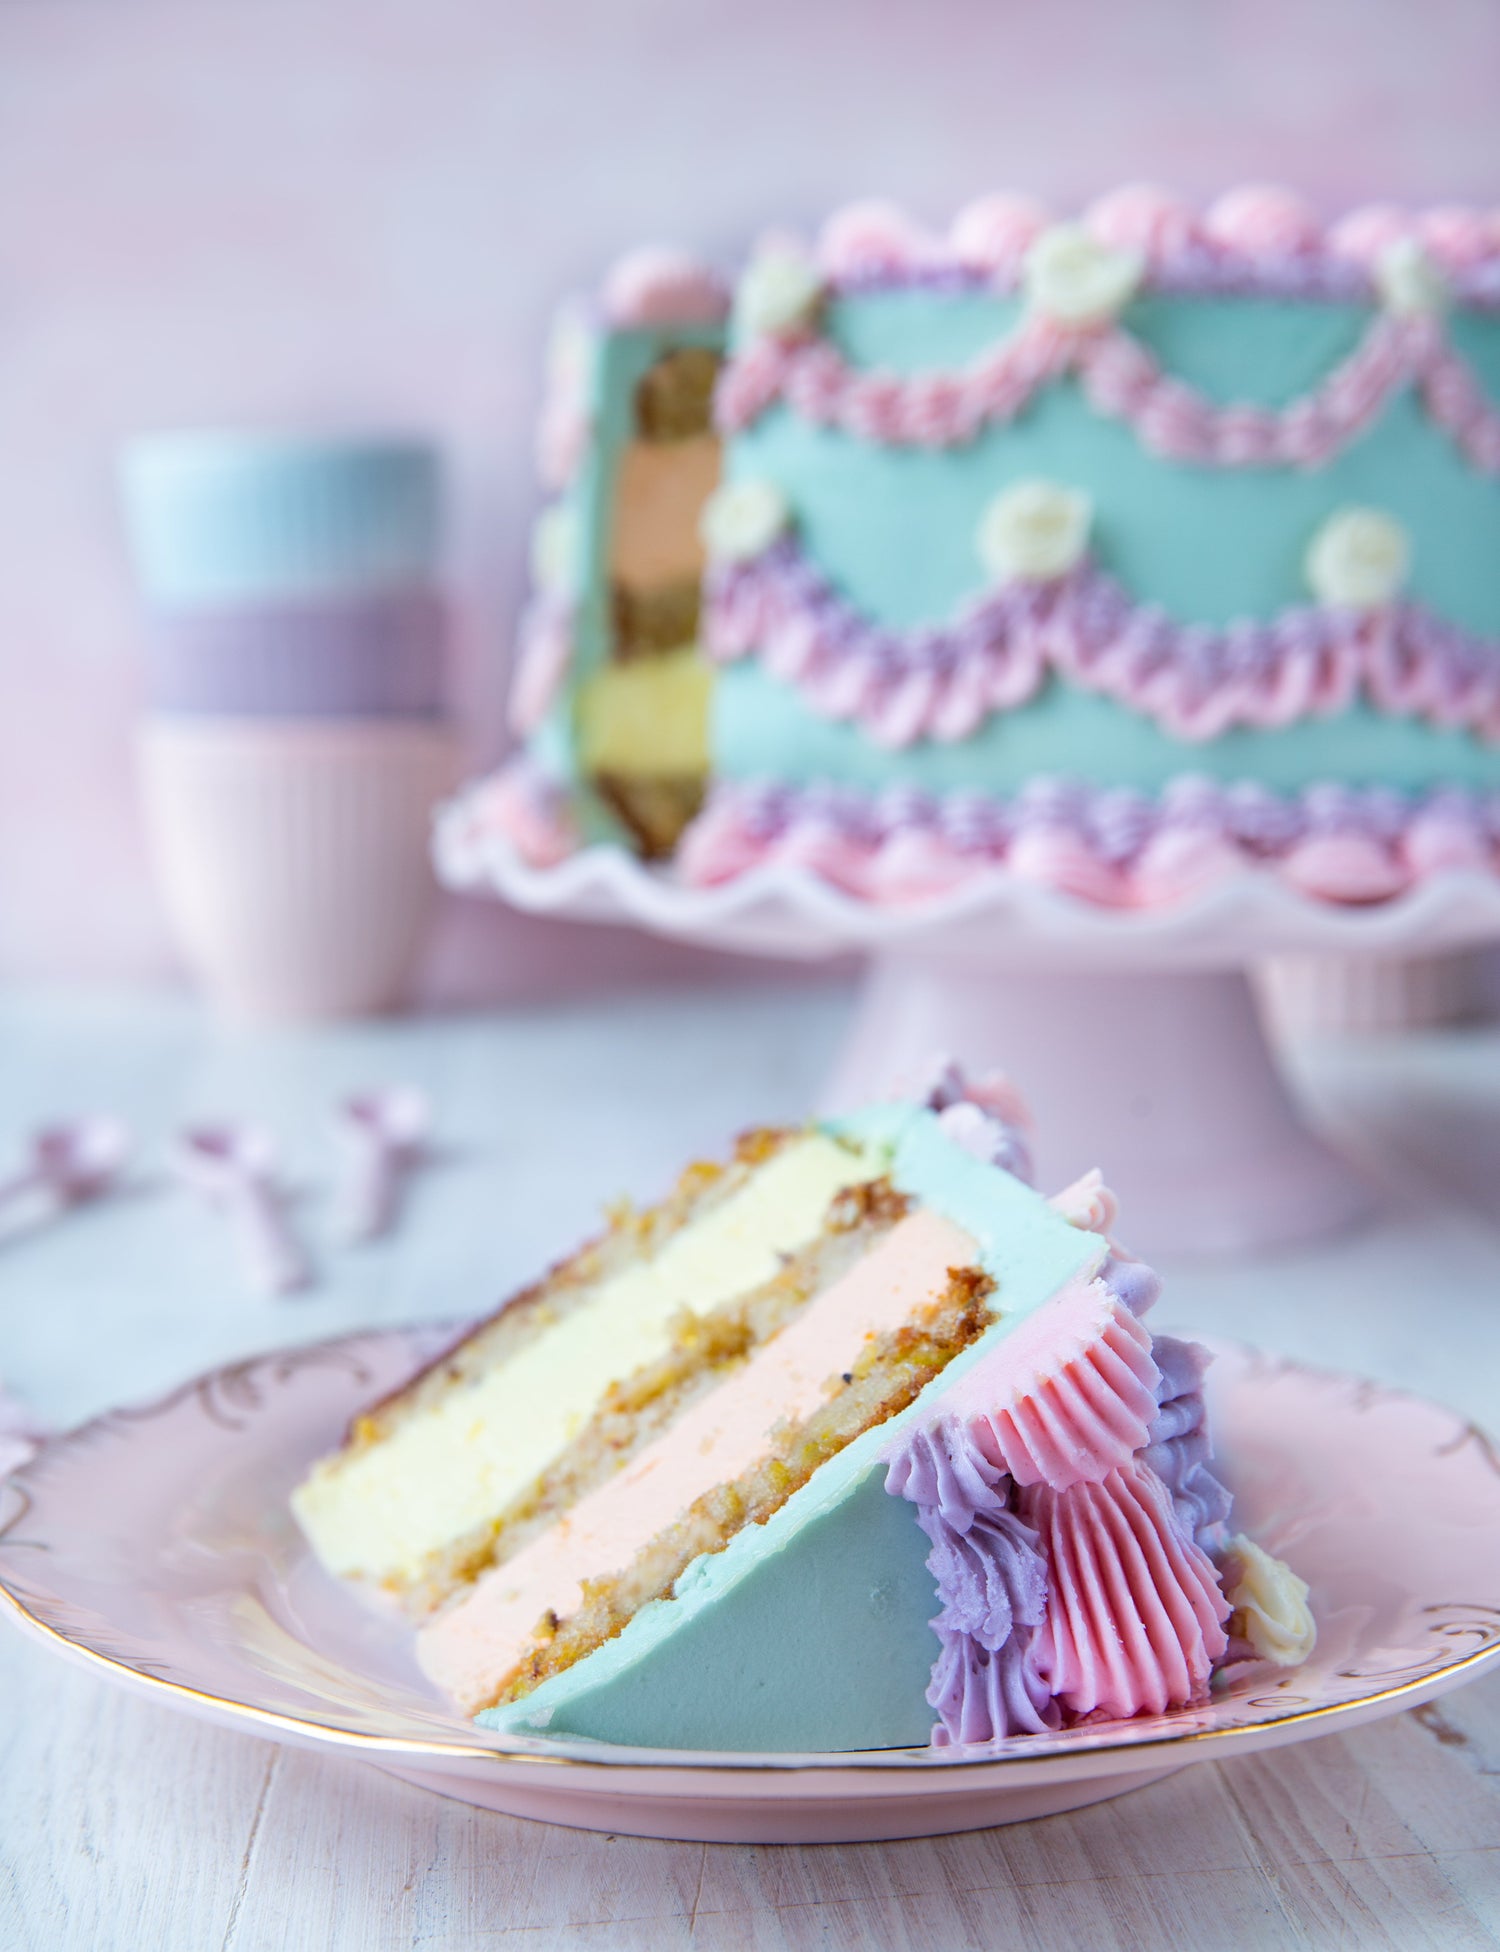
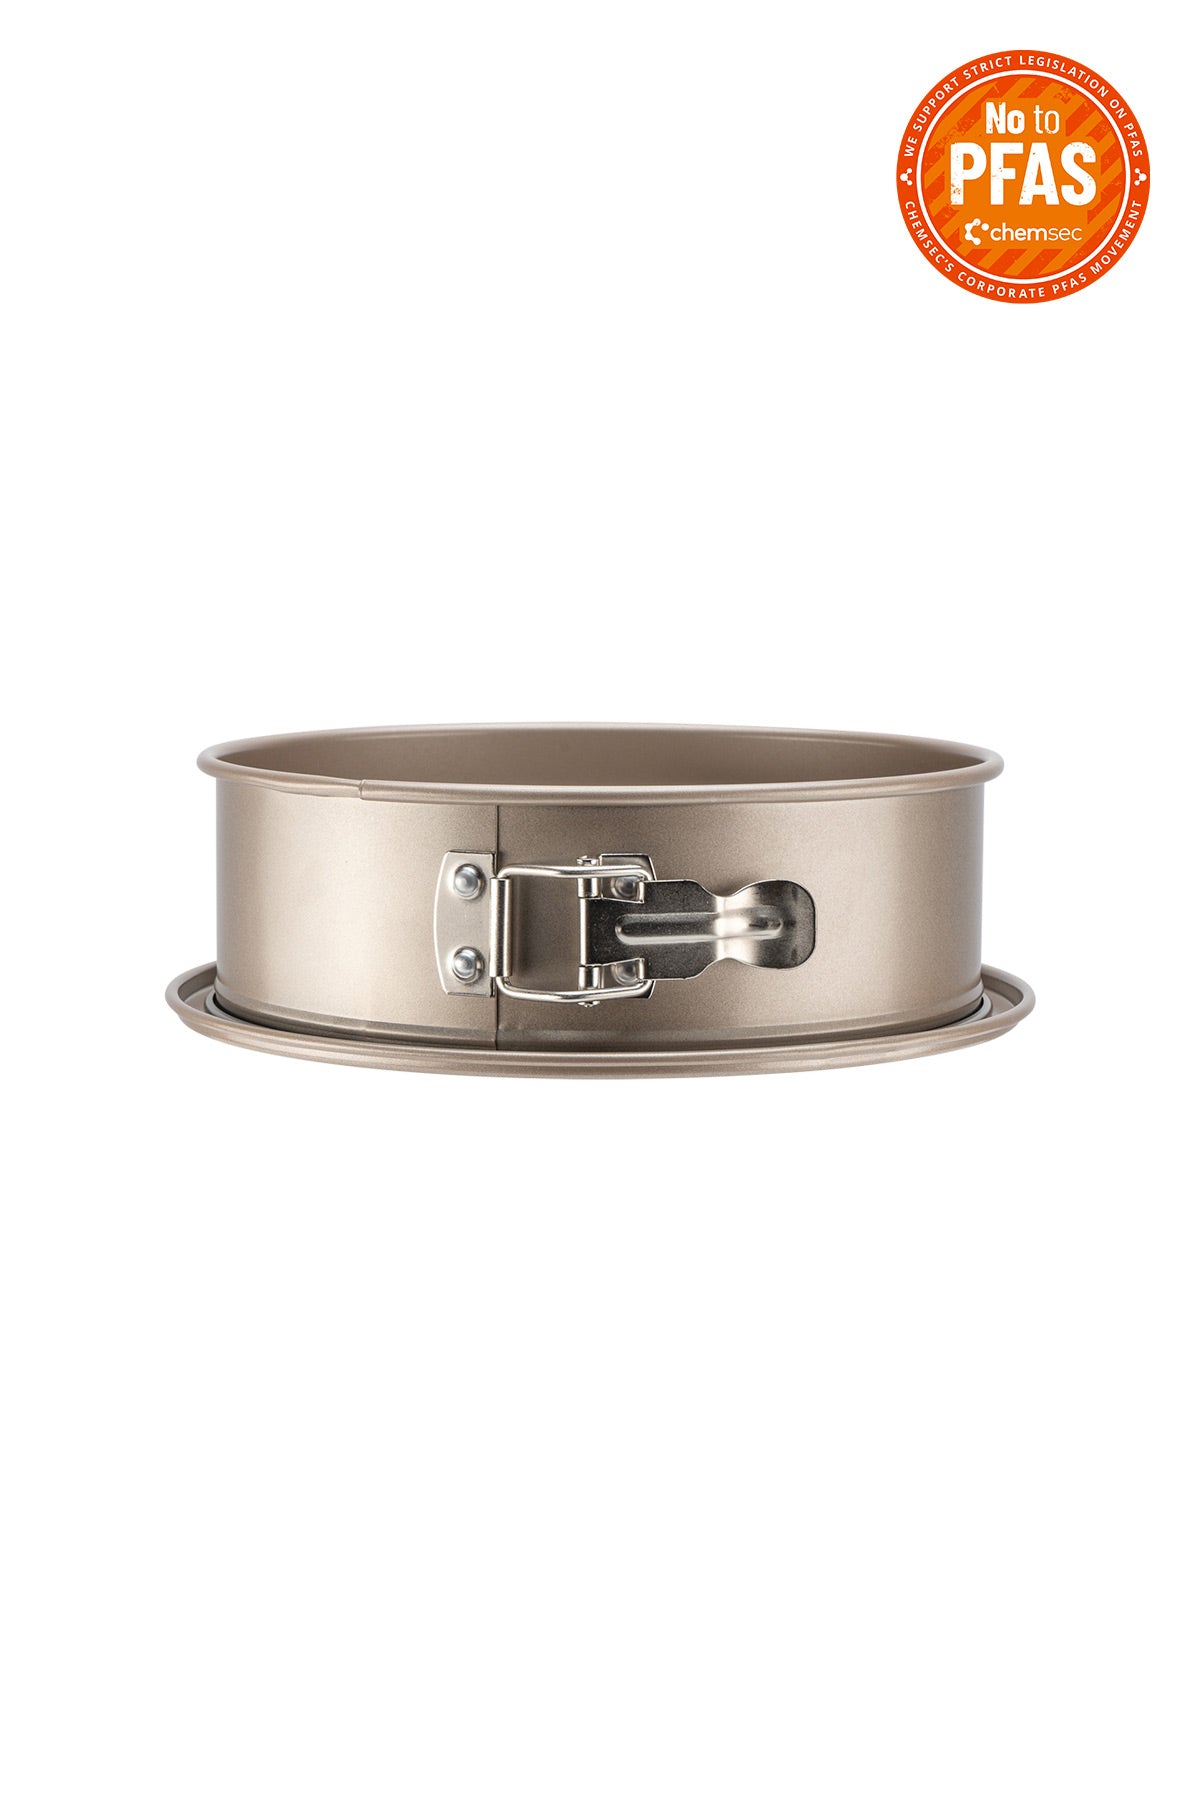
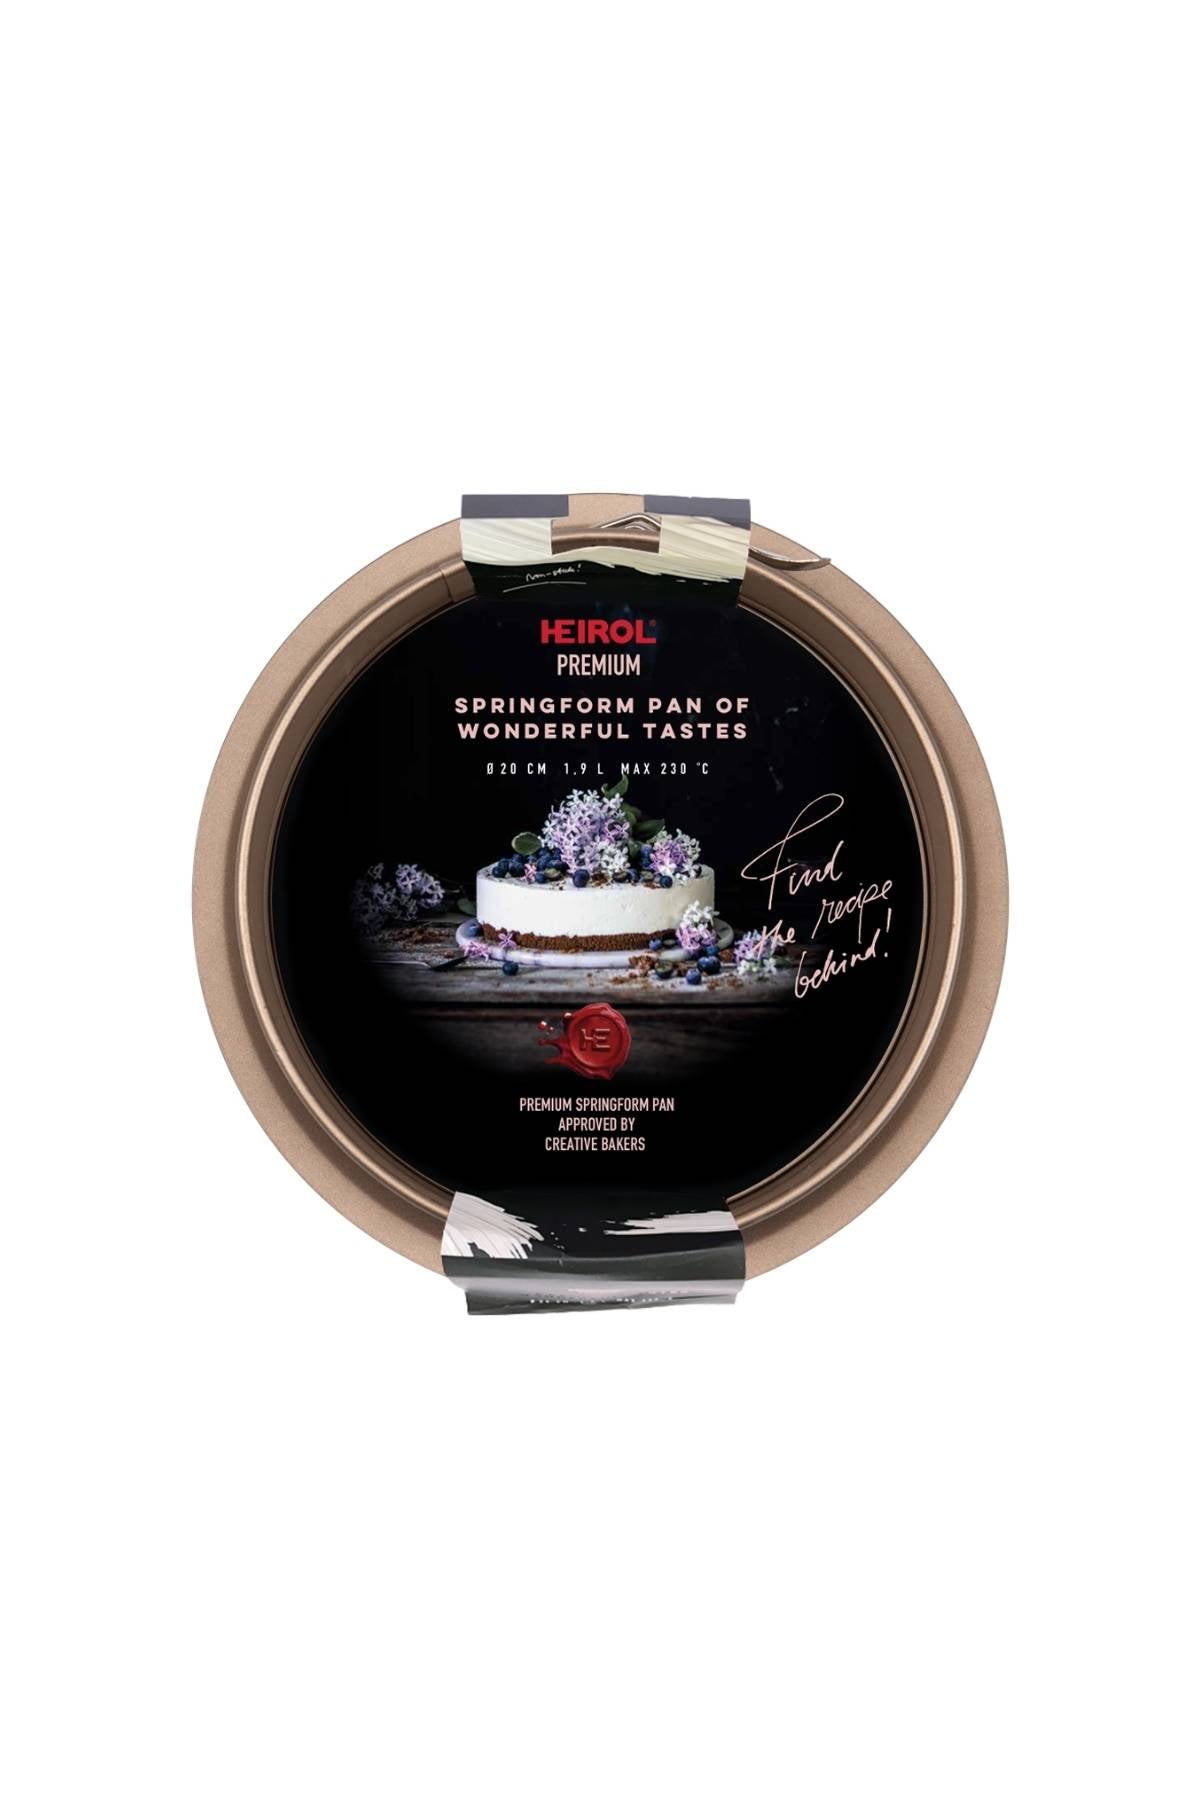
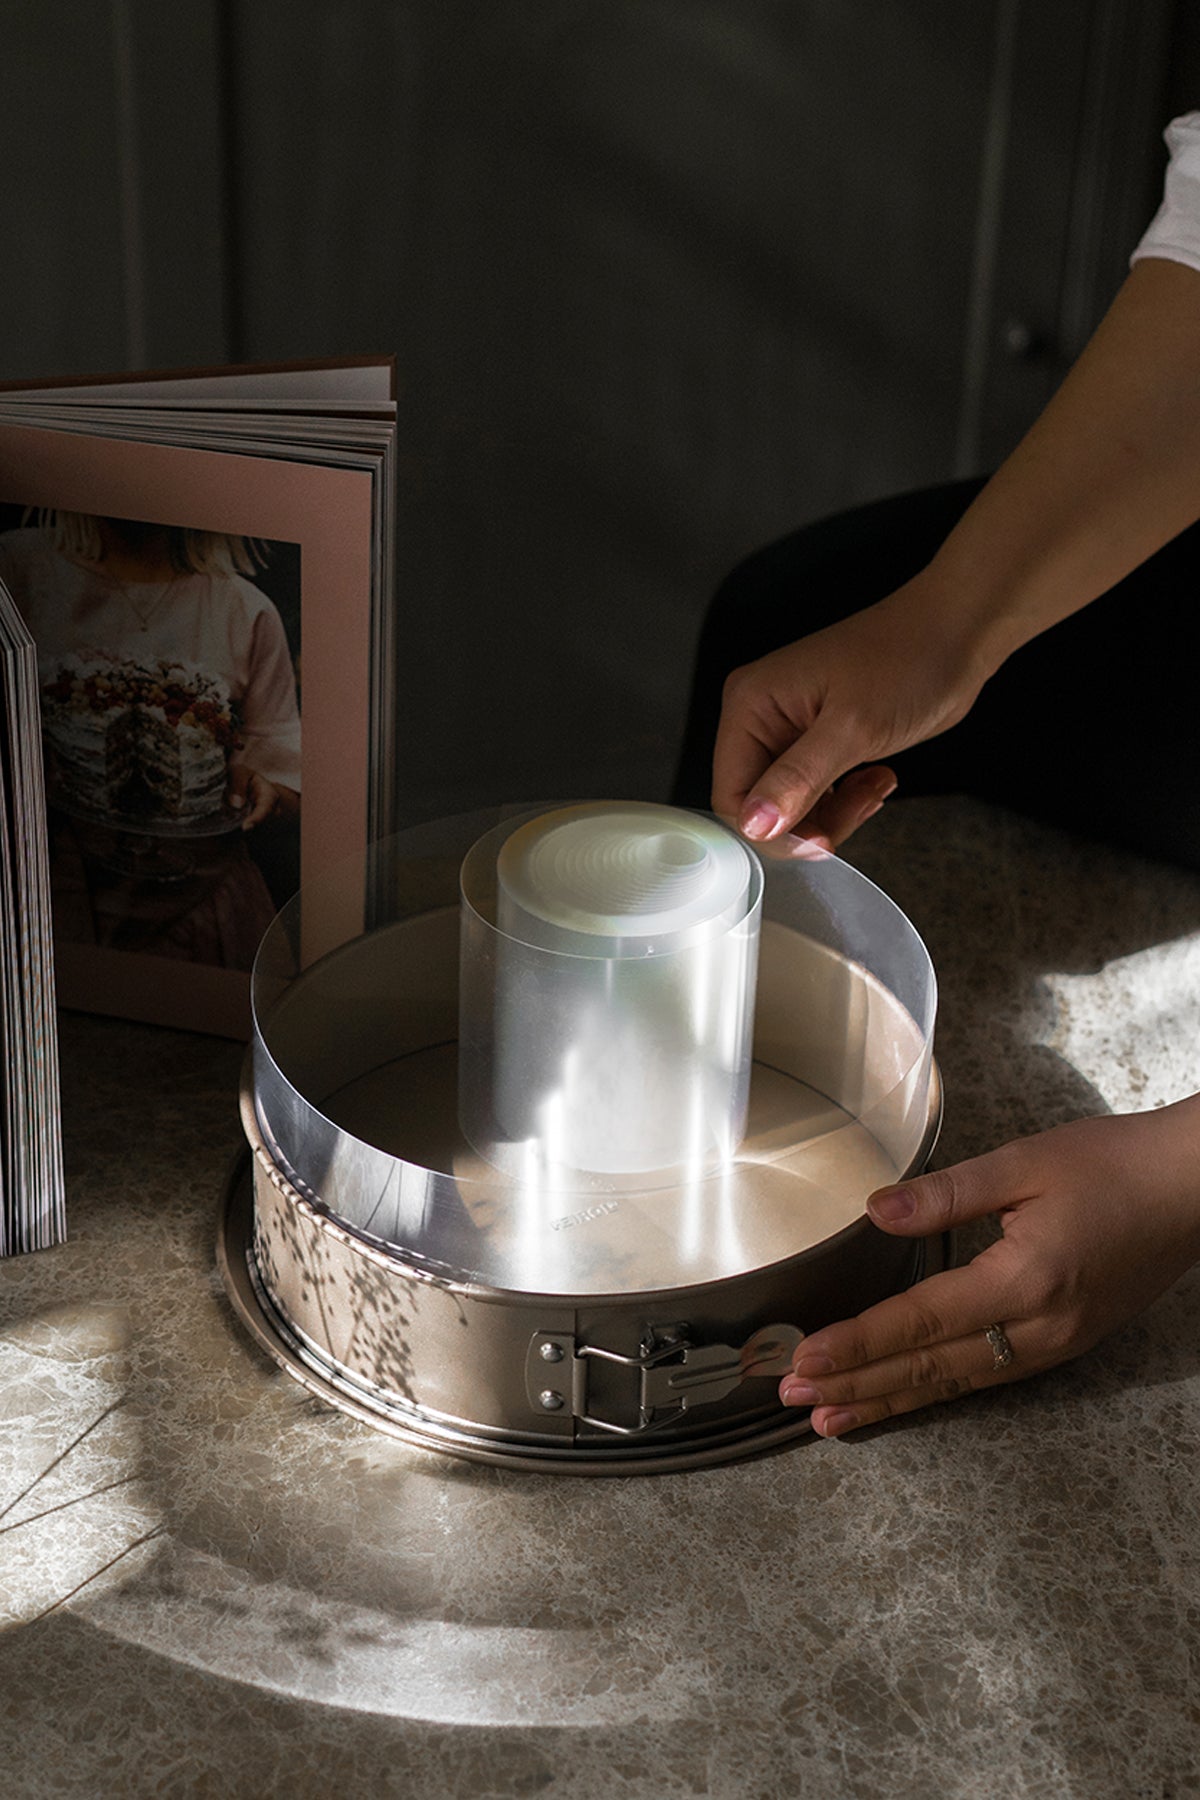
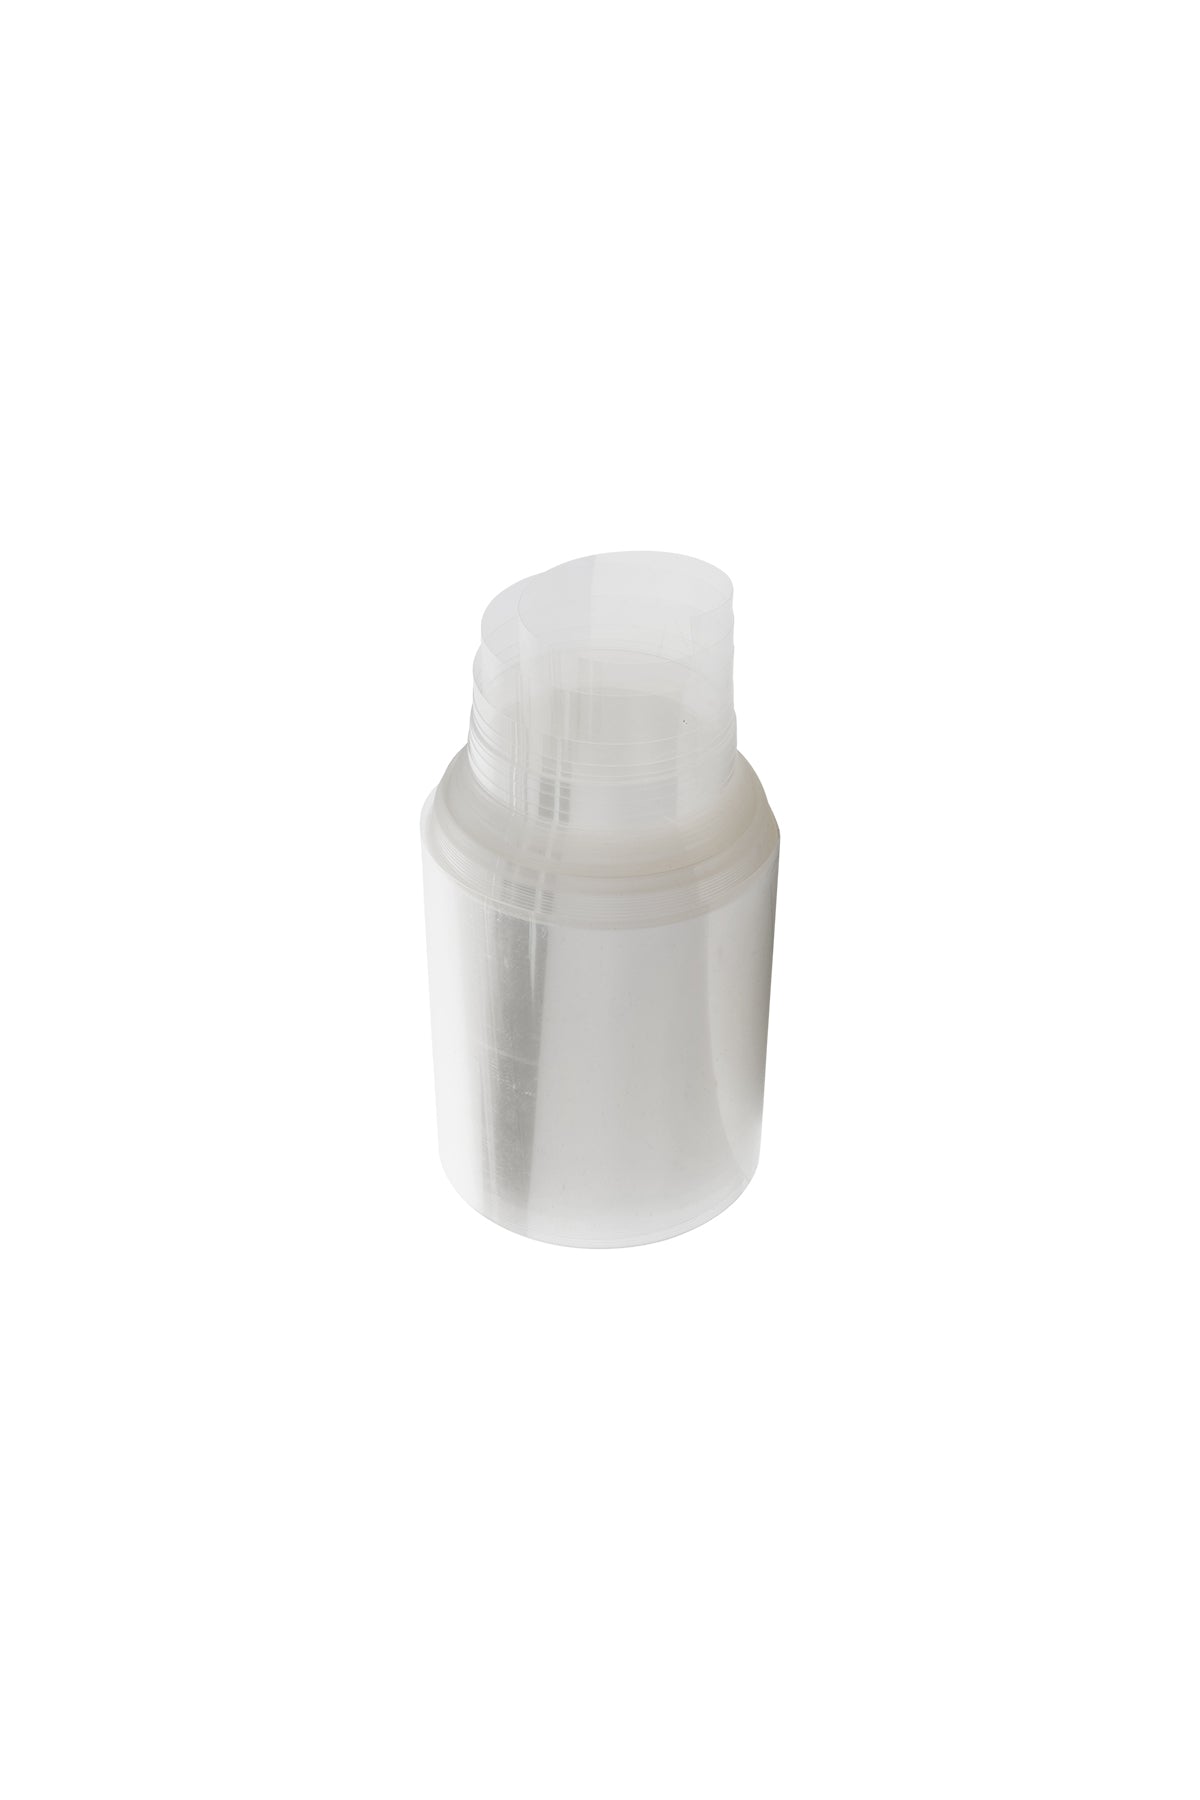
Assemble the cake in the same 20 cm springform pan where you baked the base. Line the bottom with baking paper and protect the sides with a tall cake collar (10 cm), as the cake will be extra tall. Place the first cake layer into the pan and soak with milk.
Lemon Filling
Soak the gelatin sheets in cold water. Grate the lemon zest. Whip the cream and, during whipping, add yellow food coloring. Combine the yogurt, lemon cream, sugar, and zest. Squeeze the lemon juice (for both the lemon and passion fillings). Heat the juice to a boil and dissolve the soaked gelatin into it. Stir the gelatin mixture into the yogurt mixture, and then fold in the whipped cream. Pour the lemon filling into the pan and refrigerate for about 1 hour before adding the next layer. Place the second cake layer on top of the lemon filling and soak it with milk.
Passion Fruit Filling
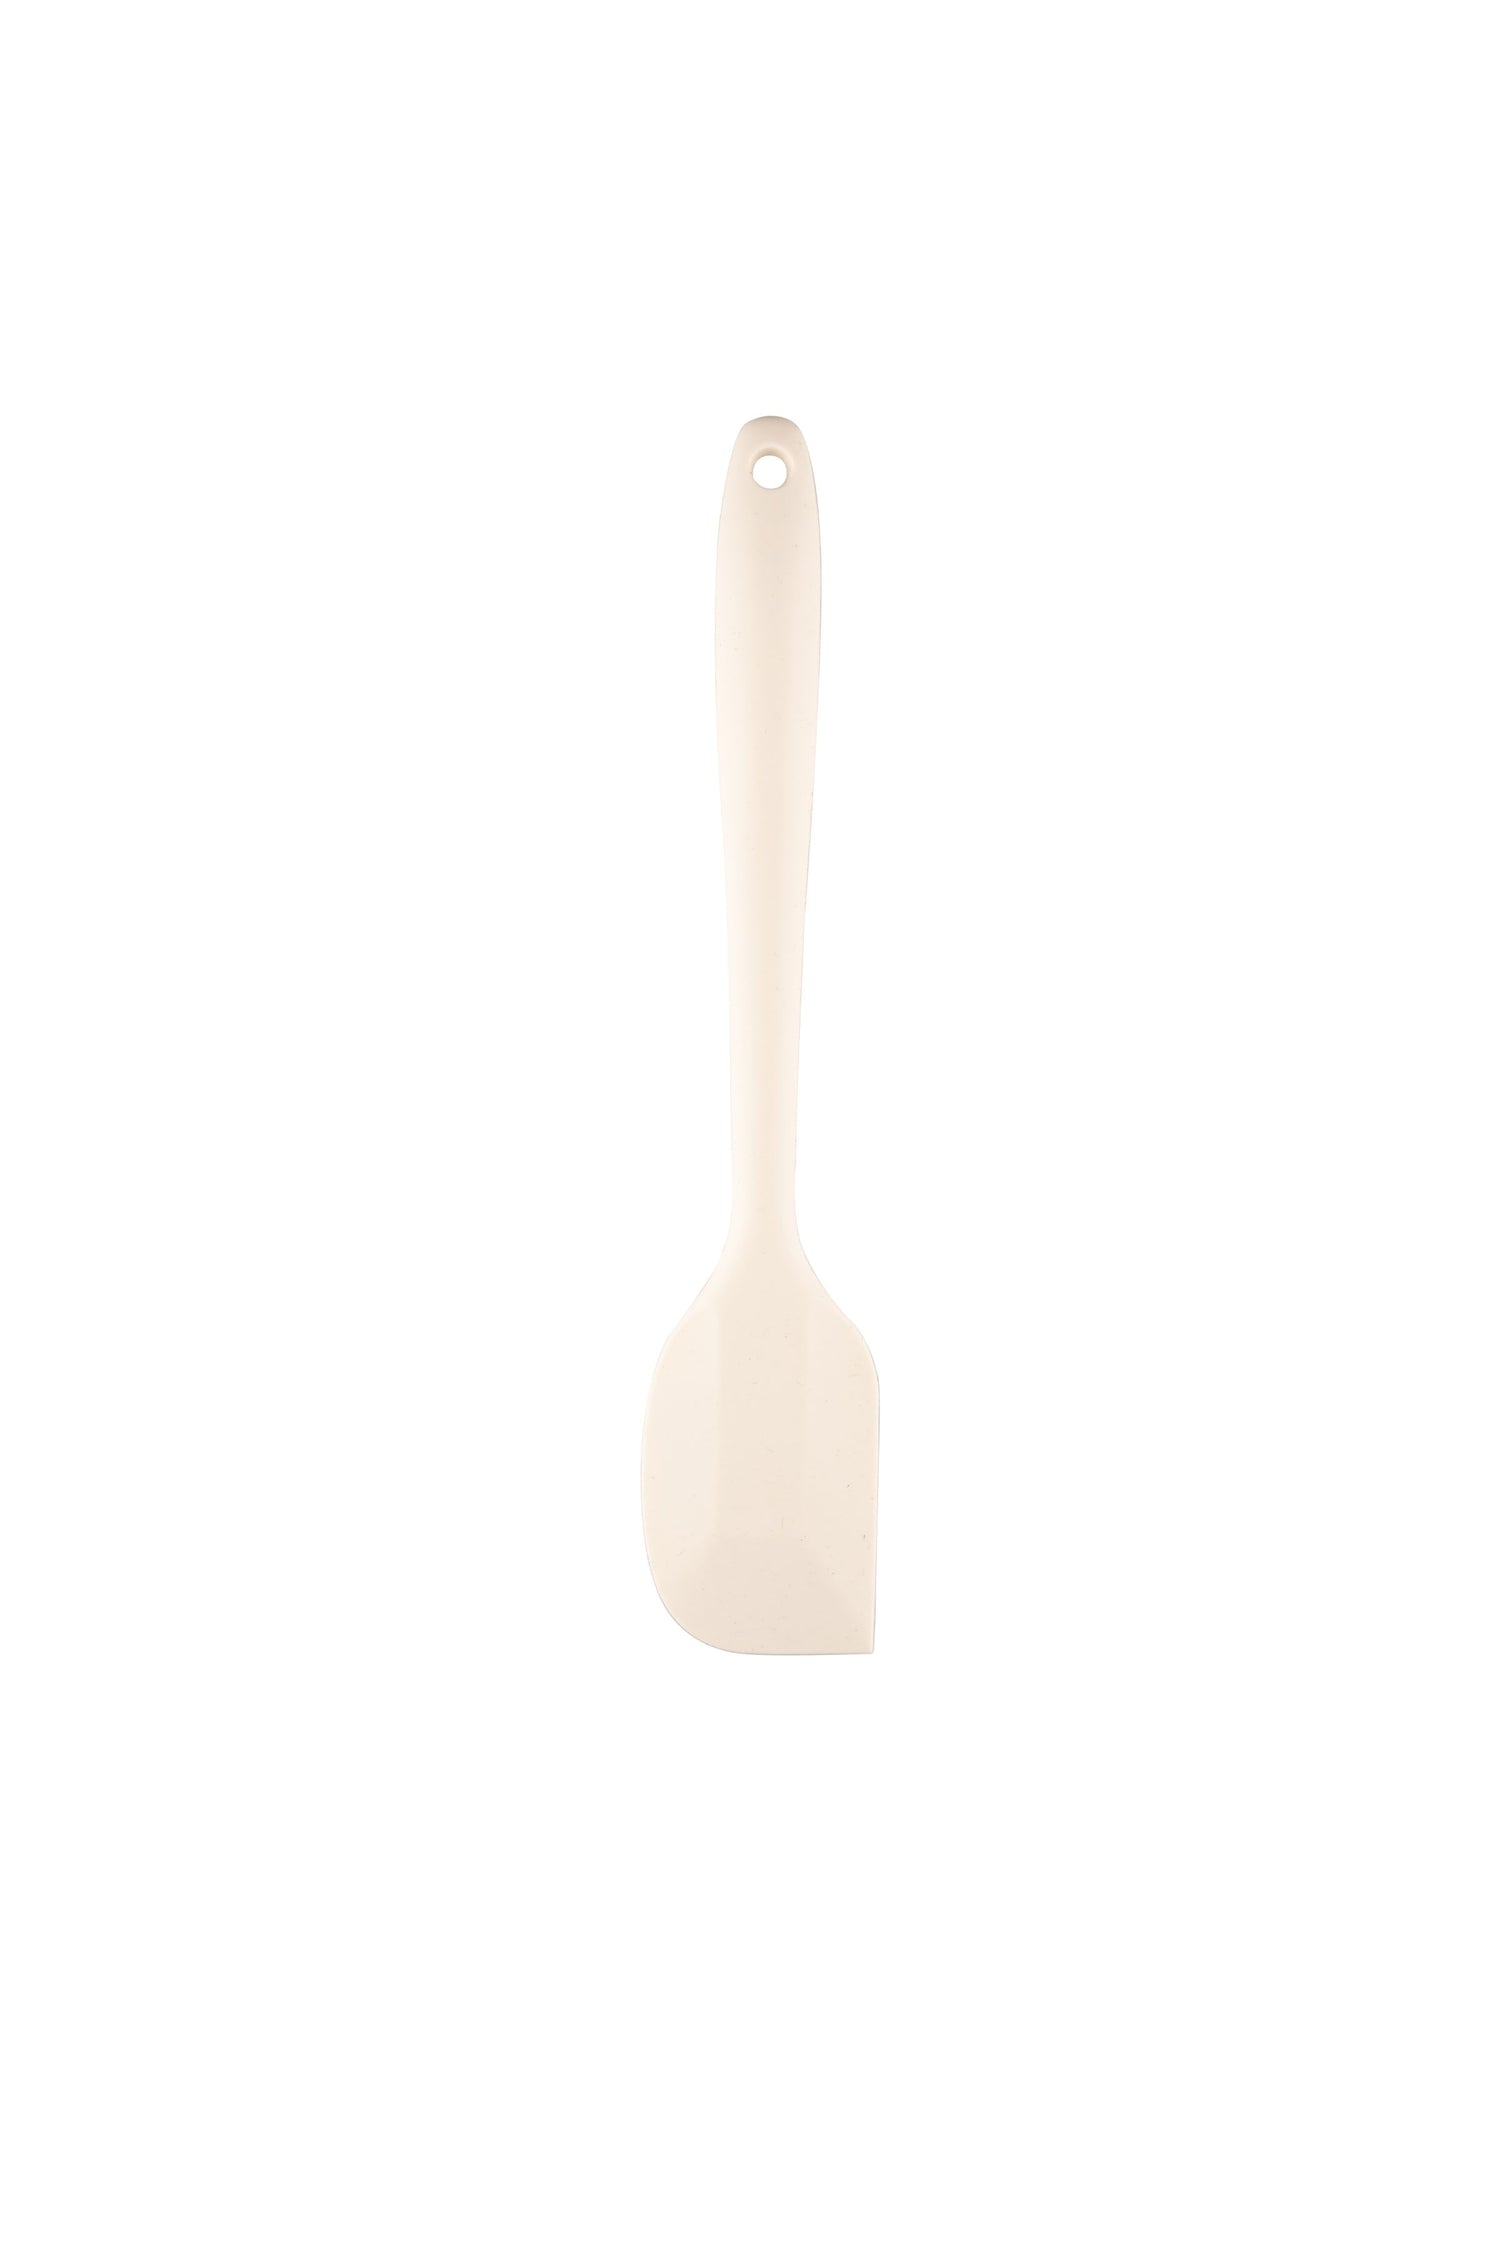
Soak the gelatin sheets in cold water. Whip the cream and add orange food coloring during whipping. Combine the cream cheese, passion fruit purée, and sugar. Heat the lemon juice to a boil and dissolve the soaked gelatin into it. Add the gelatin mixture to the cream cheese mixture and fold in the whipped cream. Pour the passion fruit filling into the pan. Let the cake set for at least 3 hours. Remove the pan's edge and the cake collar. Place the final cake layer on top and soak it with milk. Transfer the cake to a cake board or paper with a spatula, making it easier to move after icing. Then, place the cake on a rotating cake stand, which is useful for decorating cakes with designs that wrap around. (This cake has a total of 10 layers of decoration!)
Preparing and Coloring the Buttercream
Prepare the buttercream according to a separate recipe. You will need a LOT of buttercream for a cake of this size! The given amount matches the cake’s needs, but it’s hard to optimize the quantity perfectly if you’re using multiple colors and different piping styles. Start by making a slightly smaller batch (e.g., 4x the base recipe), and keep ingredients on hand for an additional batch if needed after assessing how much the colors require. Make a piping plan. Sketch out the colors and designs you'll use and divide the buttercream accordingly. Reserve the largest portion (about half) for icing the cake, and divide the rest based on your piping design. Note that larger piping tips use more buttercream.
For this cake, the buttercream was colored as follows: I first separated a small portion of the cream for white details (mixed with a tiny bit of violet food coloring to counter the yellowish tint). I colored the icing for the cake (about half of the total amount) light blue (blue and a tiny bit of violet food coloring). I dyed the next largest amount pink for the large piped decorations (pink food coloring), and the rest was colored violet for smaller piping (violet food coloring).
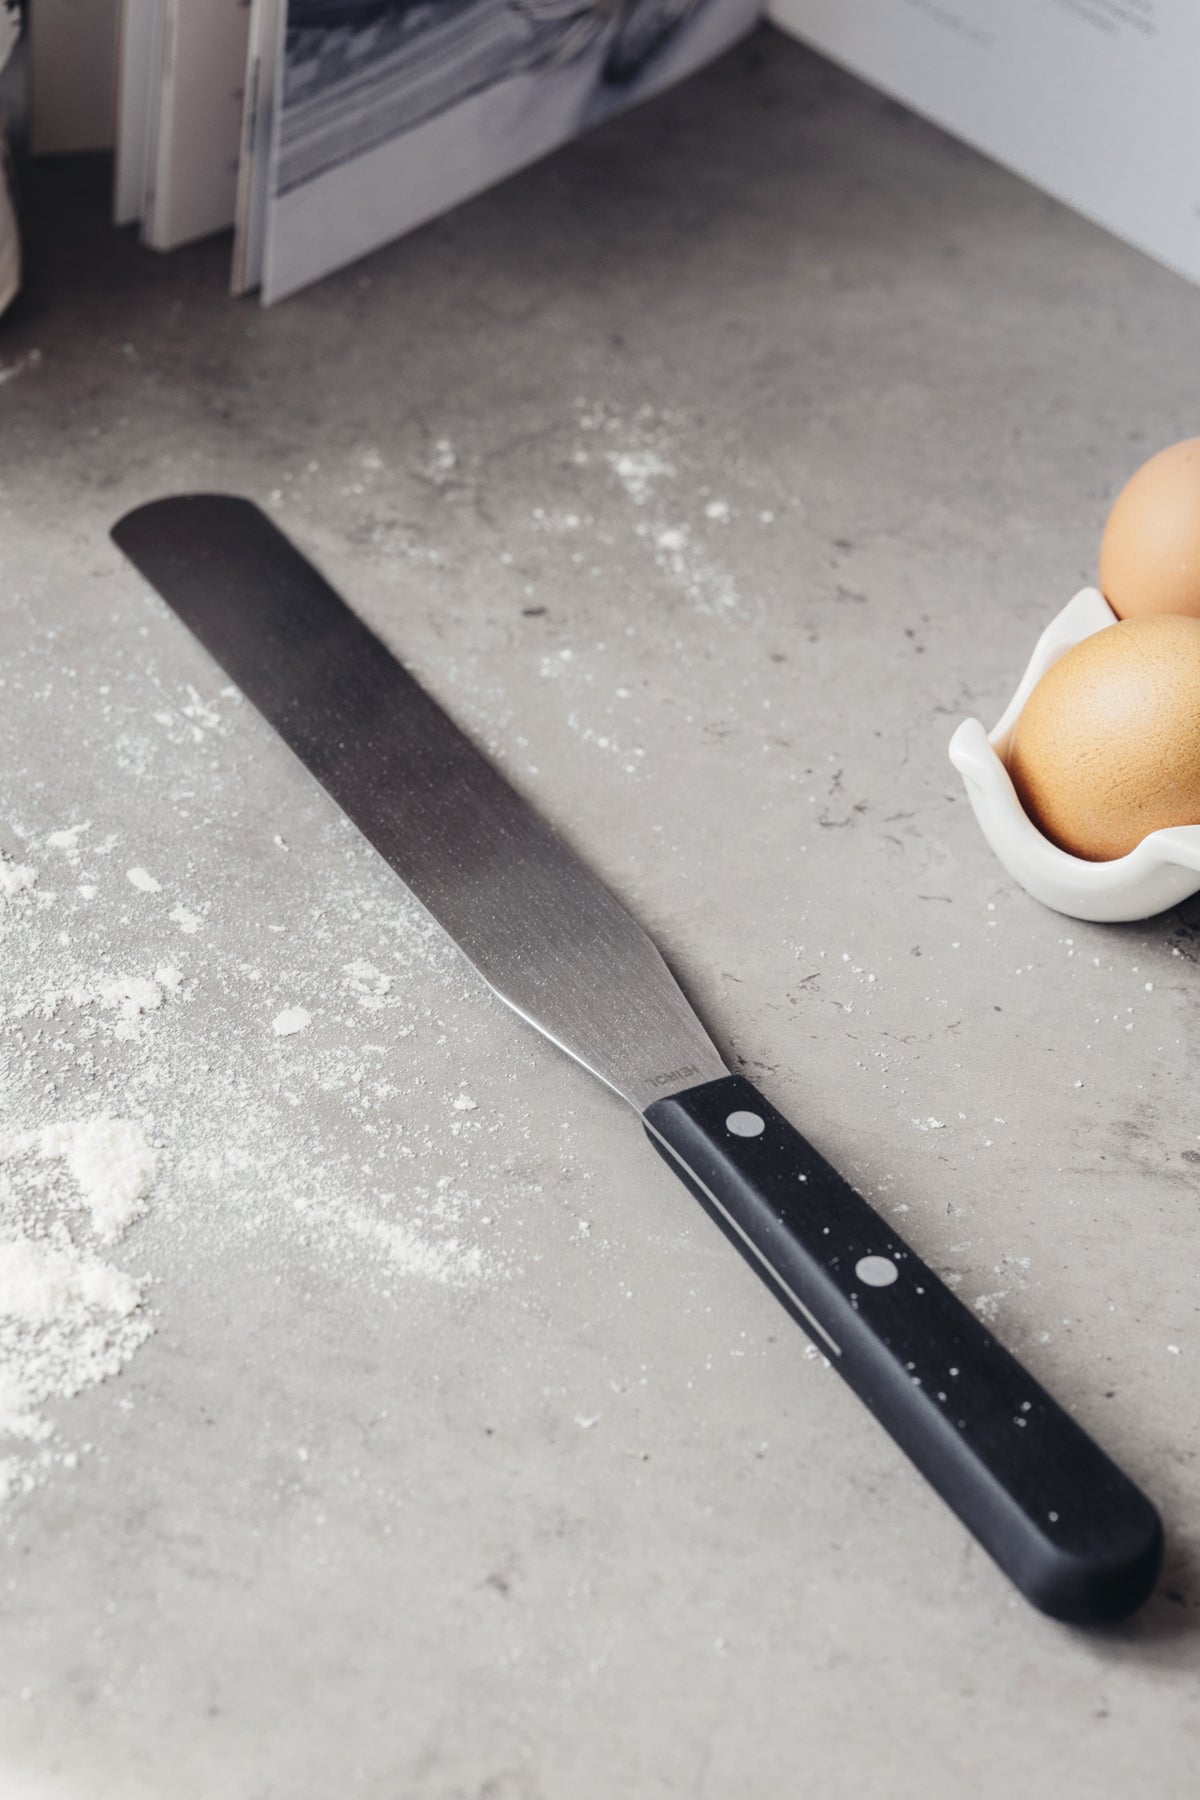
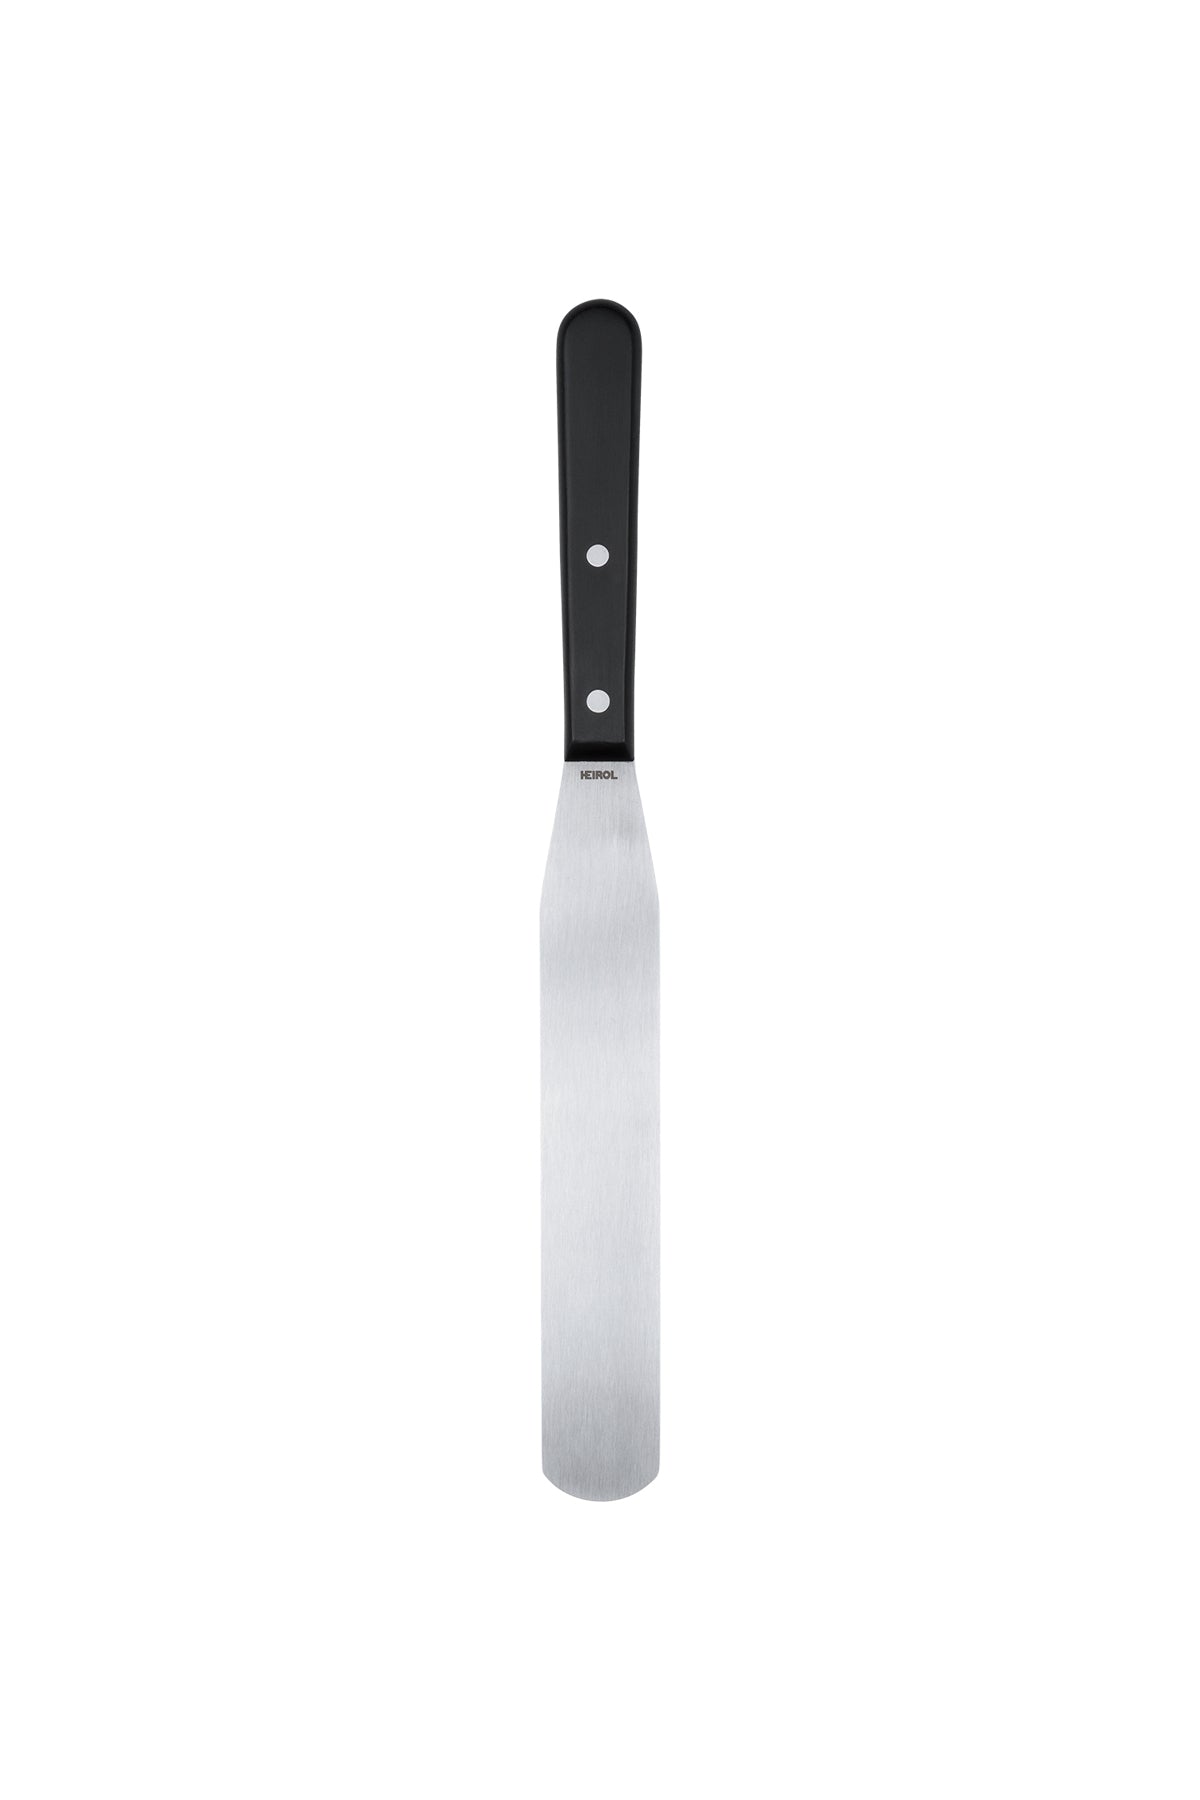
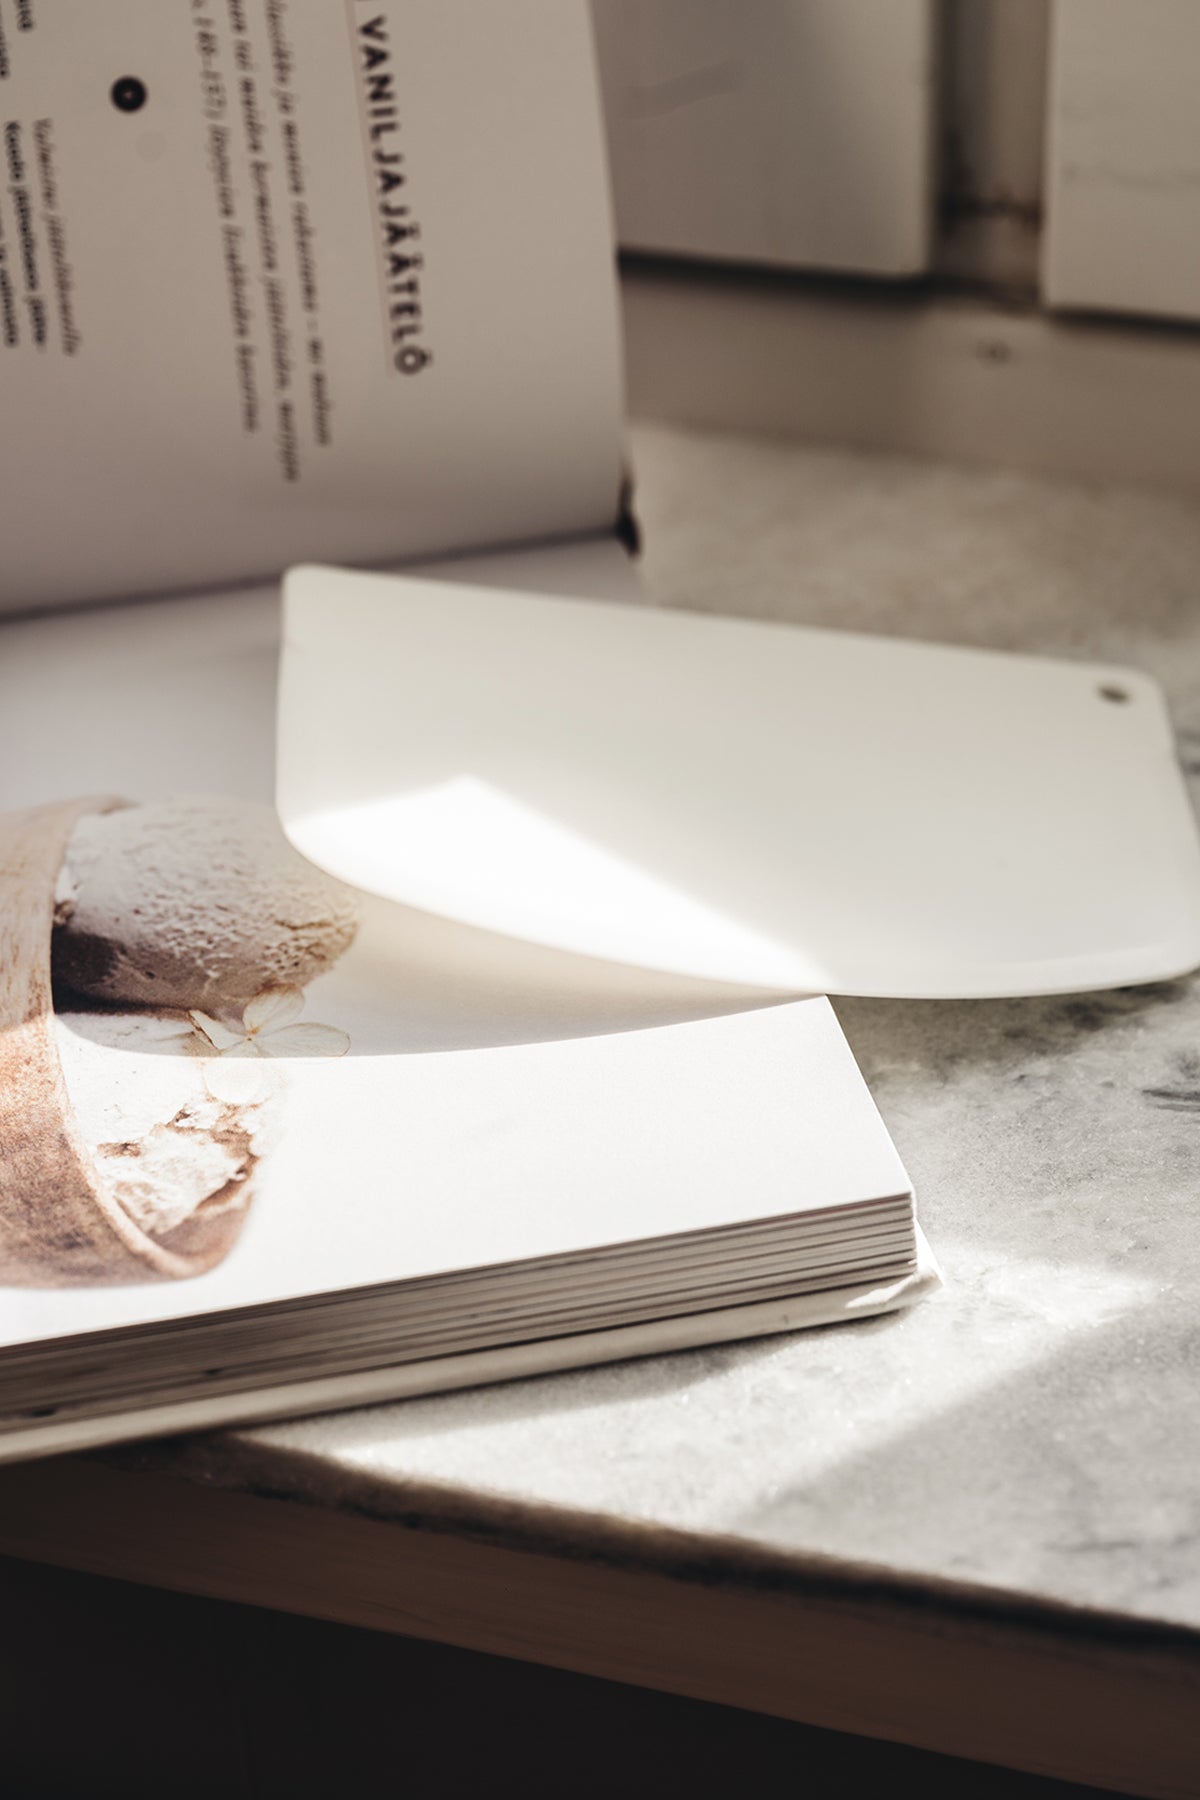
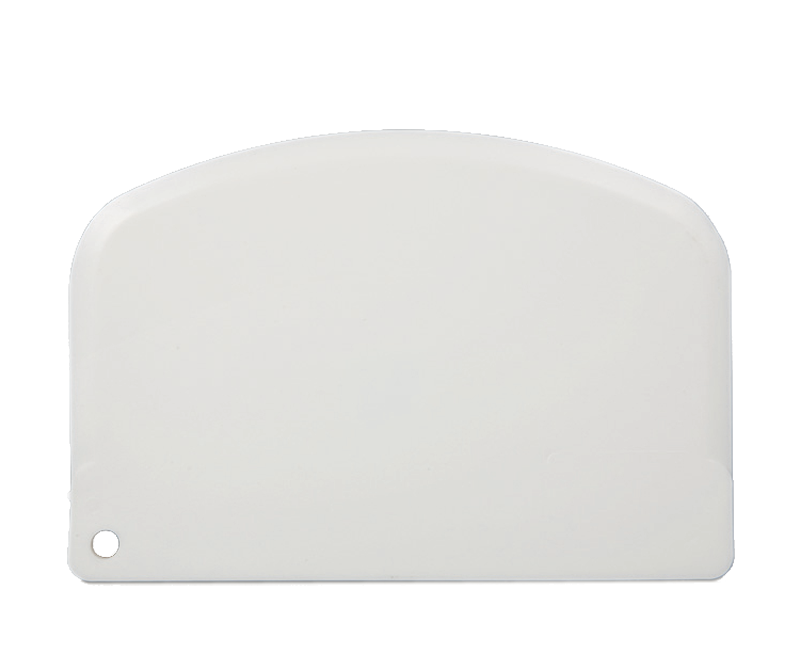
Spread a thick layer of buttercream evenly around the sides of the cake. At this stage, it should be generously thick. Smooth the surface with a cake scraper while turning the cake on the rotating stand, removing any excess. Apply buttercream to the top of the cake and smooth it with a palette knife. Let the surface set in the fridge before piping.
Piping
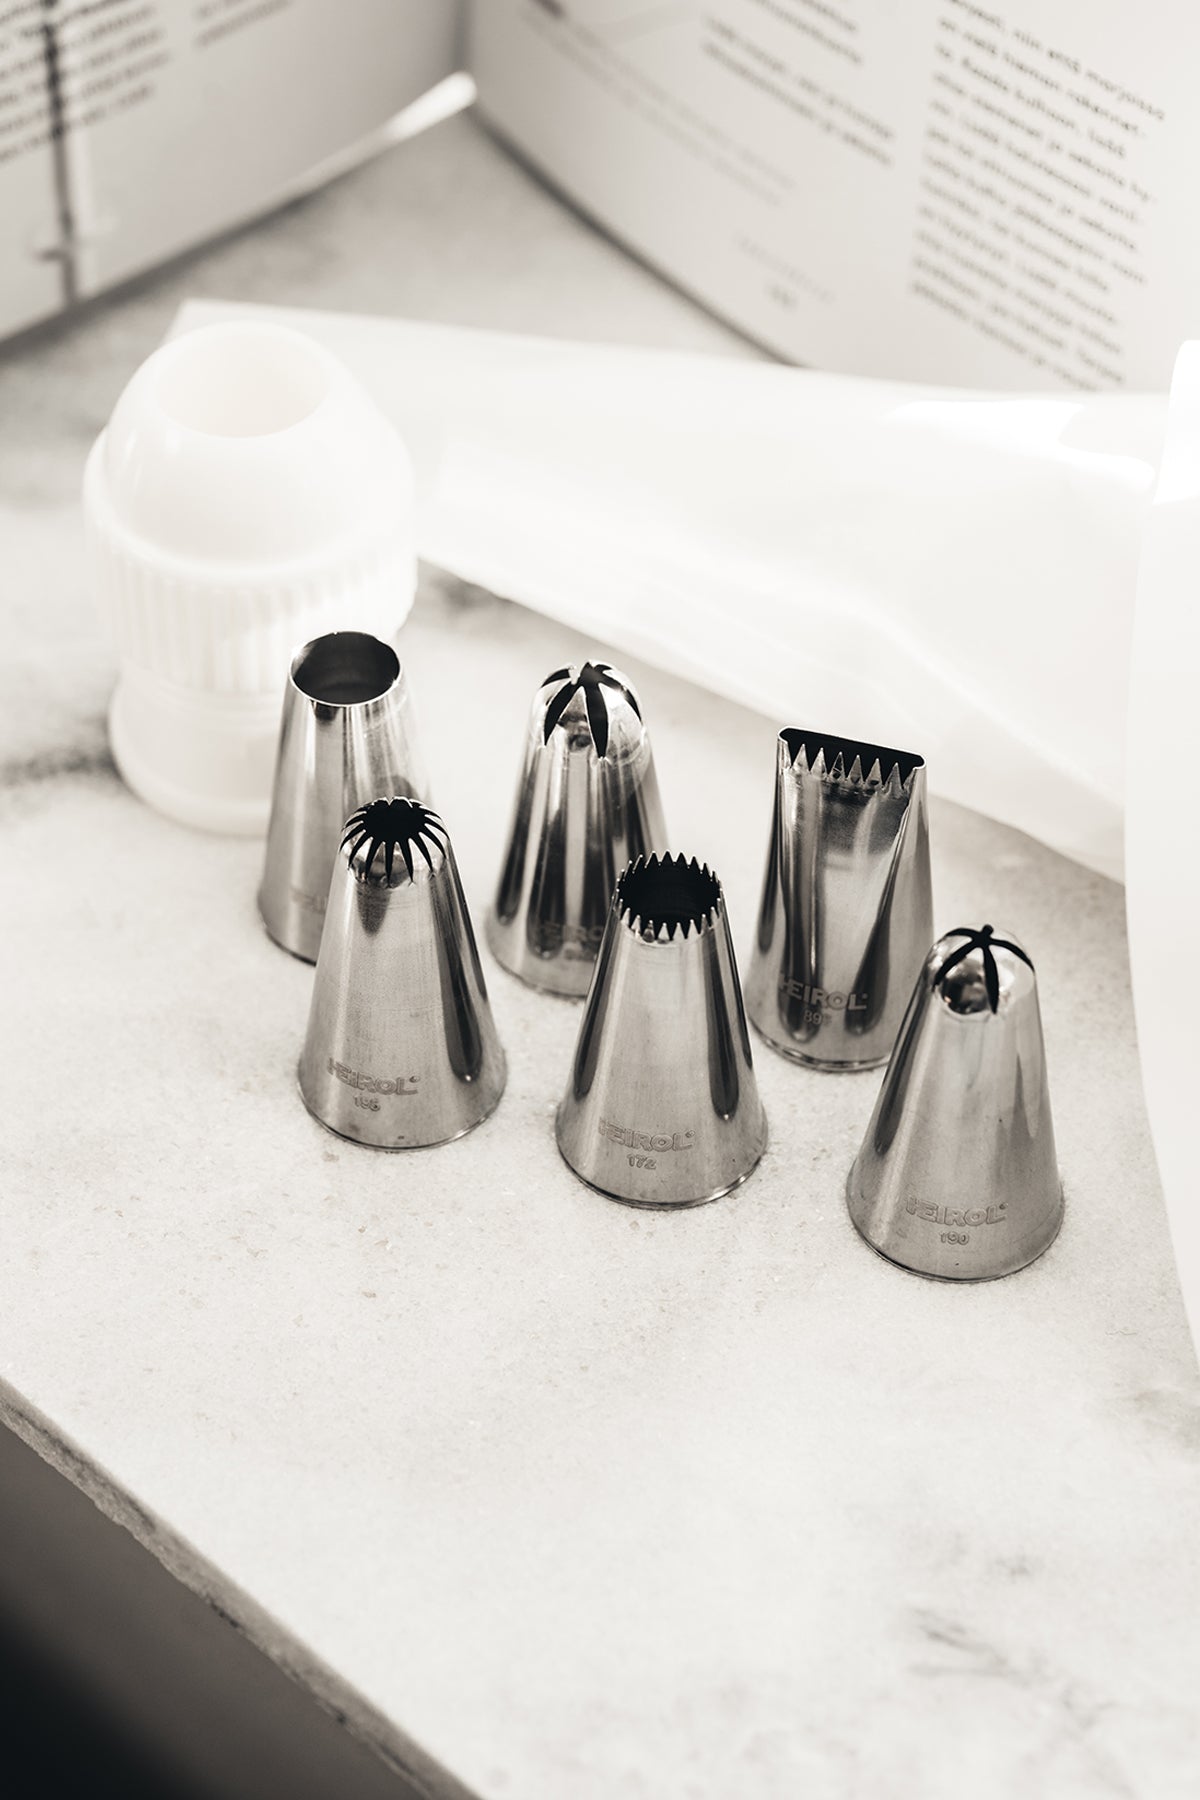
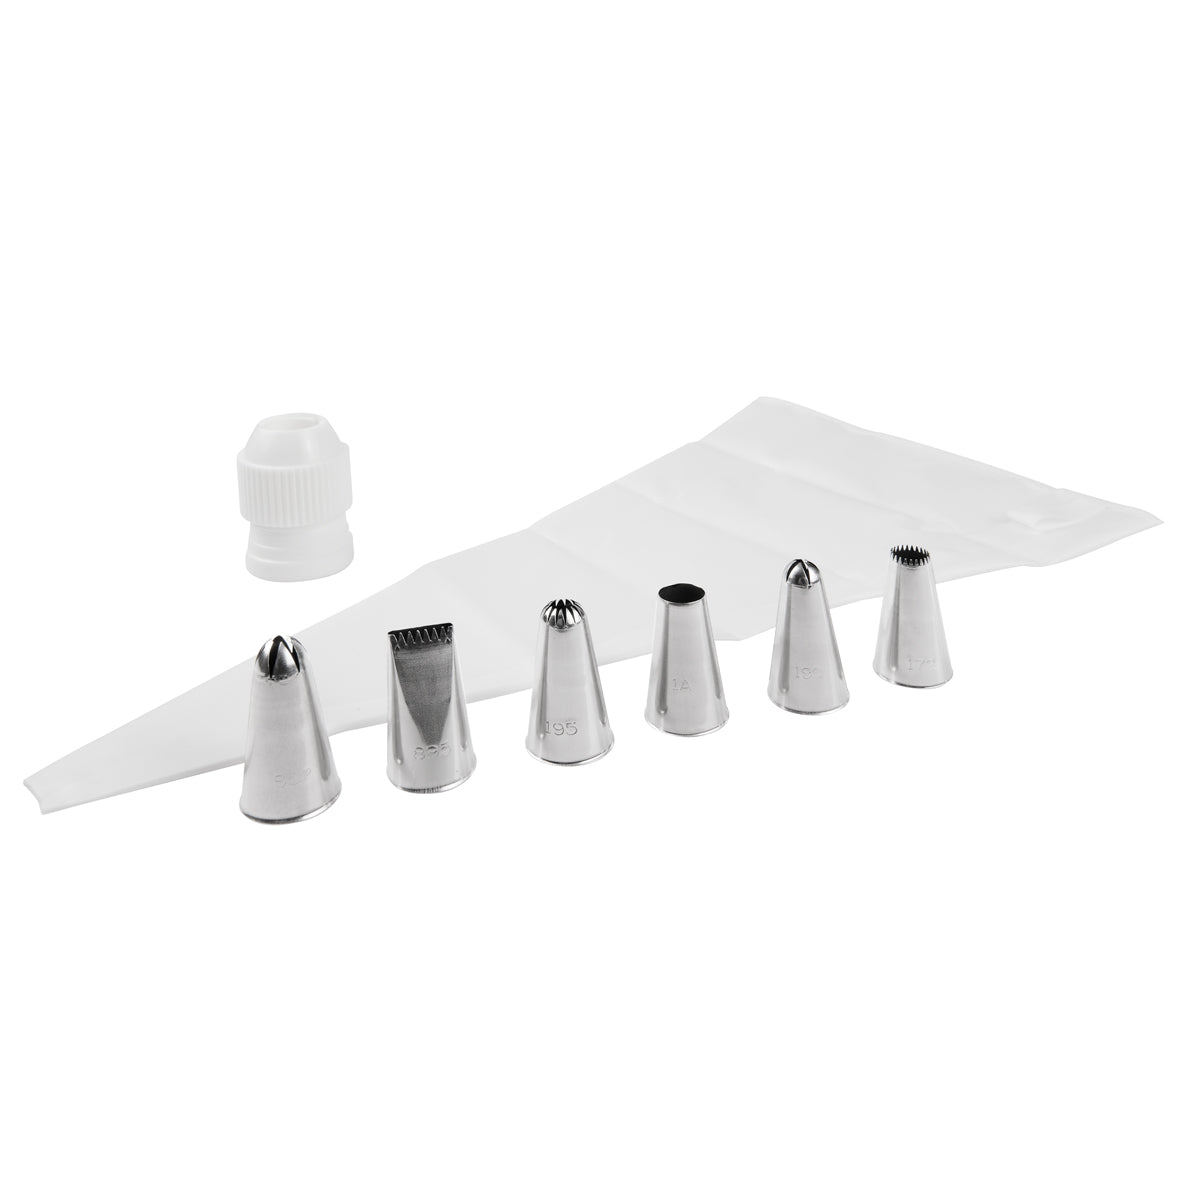
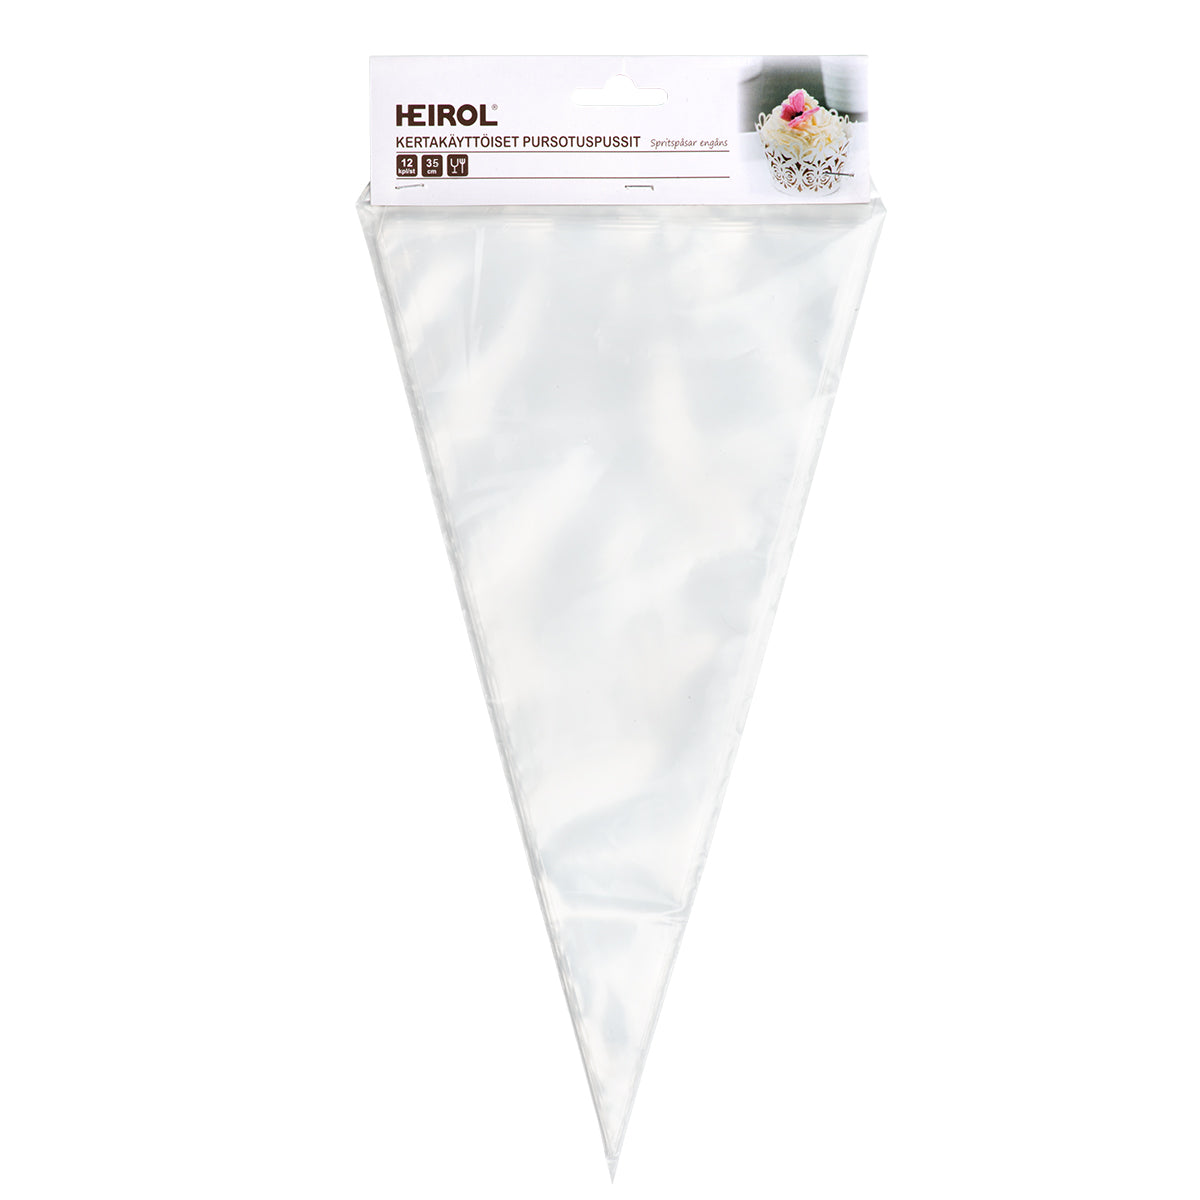
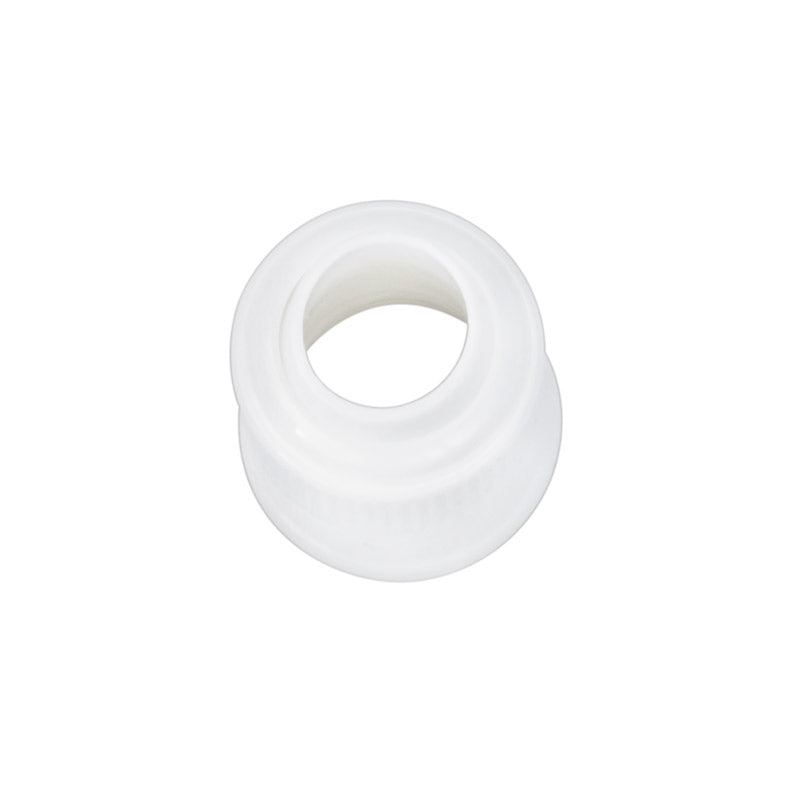
Soften the buttercream slightly in the microwave or over a warm water bath before placing it in the piping bags, making it more pliable for piping. Attach the piping tips to the bags using couplers, which are essential if you want to use the same tip with different colors or switch tips in the same bag. Small and large couplers are available for different piping tips, and they aren't interchangeable. Fill the piping bags with buttercream and close them with a bag clip. Start with a large star tip to pipe along the base of the cake and, if desired, pipe another layer on top with a smaller star tip and a different color. Then, sketch guide lines for the curved piping on the sides of the cake. Divide the cake into halves, then quarters, and mark three curved lines between each section. On this cake, one set of ruffles reaches the top of the cake, and another is placed halfway between the top and bottom. Use the remaining buttercream to pipe decorations on top of the cake. Finish the ruffles with details like small rosettes.
Refer to the accompanying "piping tip chart" for the specific tips used for each decoration.

